You want to make things. Maybe you have been saving Pinterest boards for years, or maybe you just moved into a new place and need something on the walls that is not a mass-produced print. Either way, this guide will get you from zero to your first finished project without spending a fortune or turning your living room into a disaster zone.
Step 1: Pick One Thing
The biggest mistake beginners make is buying supplies for five different crafts at once. You end up with a closet full of half-used materials and no finished projects to show for it.
Pick one category that genuinely interests you. Not what looks best on social media -- what you would actually enjoy spending a quiet Saturday afternoon doing. Some starting points:
- Paper crafts if you like precision, folding, and clean lines
- Fiber arts if you enjoy repetitive, meditative motions
- Wood projects if you want a functional end product
- Upcycling if you like treasure hunting at thrift stores
Step 2: Get the Essentials (Nothing More)
Every craft has a "starter kit" of maybe 5-8 items. Buy those and nothing else until you finish your first project. Here is a universal baseline that works across most crafts:
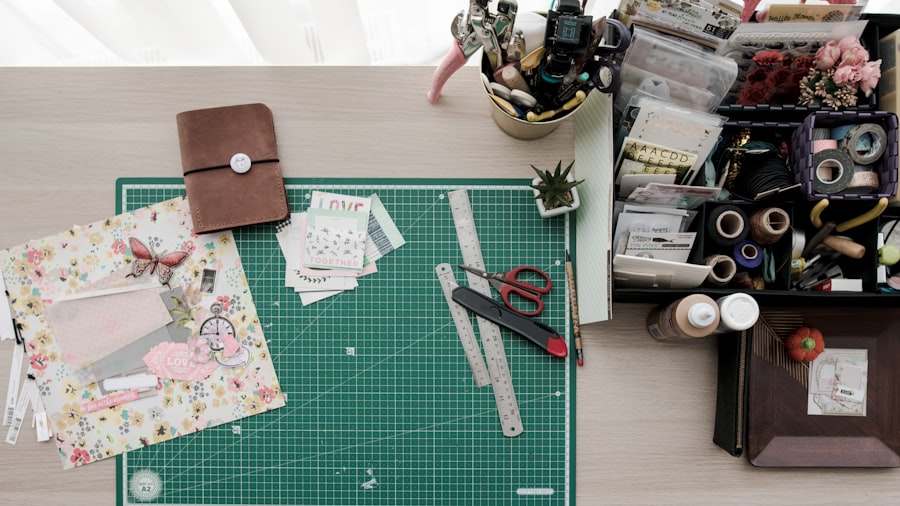
- A self-healing cutting mat (A3 size is versatile)
- A metal ruler with a cork back
- Sharp scissors and a craft knife
- PVA glue and a glue stick
- Pencil, eraser, and a fine-tip marker
- Painter's tape (low-tack, will not rip paper)
Tip: Do not buy the cheapest tools. A mid-range craft knife with replaceable blades will last years and cut cleanly. The dollar store version will frustrate you within a week.
Step 3: Set Up a Small Workspace
You do not need a dedicated room. You need a surface you can protect and a place to store supplies between sessions.
- A folding table or cleared section of kitchen counter works fine
- Lay your cutting mat down -- it protects the surface and gives you a grid
- Keep supplies in a single box or tote you can pull out and put away easily
- Good lighting matters more than space. A clip-on desk lamp is enough
Step 4: Your First Project
Choose something you can finish in one sitting. Completion builds momentum. Here are three options that work regardless of skill level:
- A hand-bound notebook -- Five sheets of printer paper, a needle, thread, and scrap cardstock for the cover. Takes 45 minutes.
- A simple macrame plant hanger -- Four lengths of cotton rope and one basic knot repeated. Takes one hour.
- Stamped linen napkins -- Fabric paint, a carved potato or rubber stamp, and plain napkins from a home goods store. Takes 30 minutes plus drying time.
Tip: Take a photo of your first finished piece. Not for social media -- for yourself. Three months from now, you will look back and see how much your technique has improved.
Step 5: Build a Practice
Crafting works best when it becomes a regular habit rather than an occasional binge. Some approaches that help:
- Set a weekly "craft hour" -- same time, same place, no pressure to finish anything
- Join a local maker meetup or online community for accountability
- Alternate between learning new techniques and repeating familiar ones
- Give your pieces away as gifts -- it creates natural deadlines and external motivation
Common Beginner Pitfalls
- Comparison paralysis. The person with 10,000 Instagram followers has been doing this for years. Start where you are.
- Material hoarding. Supplies are not projects. Buy what you need for your next make and stop.
- Perfectionism. Your first ten projects will have visible flaws. That is how learning works. Ship it anyway.
- Overcomplicating. The "easy" version of a project is almost always better for a beginner than the "impressive" version.
Ready to Pick a Project?
Head to our projects page and filter by beginner-friendly options. Each one includes a full materials list, estimated time, and cost breakdown so you know exactly what you are getting into before you start.